Showing posts with label stamping. Show all posts

Friday, January 16, 2015

The Hills are Alive with the Sound of..... Mixed Media!

I am a huge fan of The Sound of Music!
And since I live in the foothills of the Adirondack Mountains,
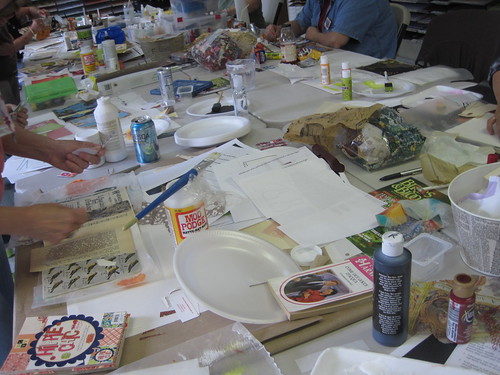
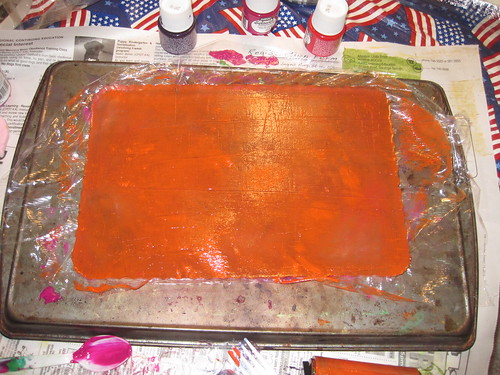
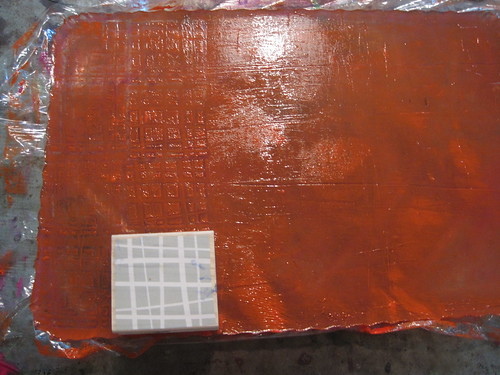
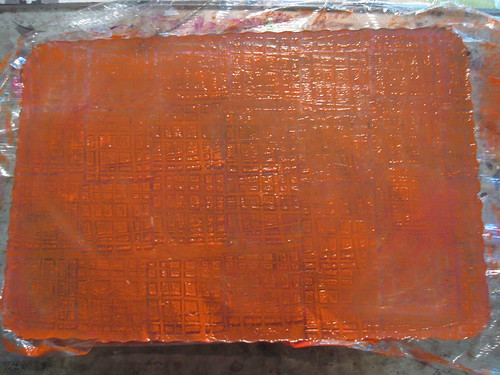
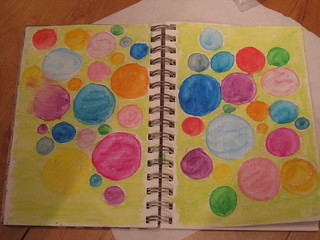
you might be able to hear me making a huge mess as I dabble in mixed media!

Now just in case you were worried...
after recently returning from the dead
followed by my temporary freezing to death
I am happy to report that I am very much alive!!!


Last year, starting about a month late, 
I joined the Documented Life Project (DLP)
in which I used a Moleskine weekly planner
to attempt as best as I could to furnish evidence or documents
(or just play with mixed media)
that I was indeed living!

(all year long!)

So.... 
in order to once again verify/substantiate/confirm
that I am indeed living (still!),
I am participating in the DLP 2015!

Most of the participants are using 
and so am I!

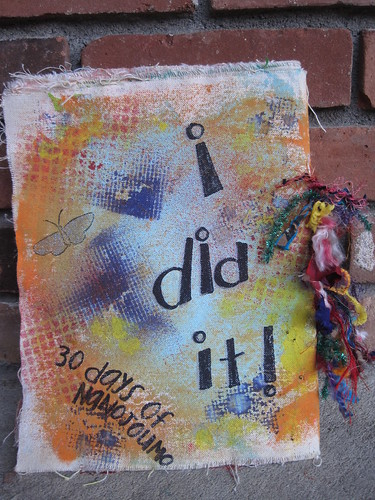
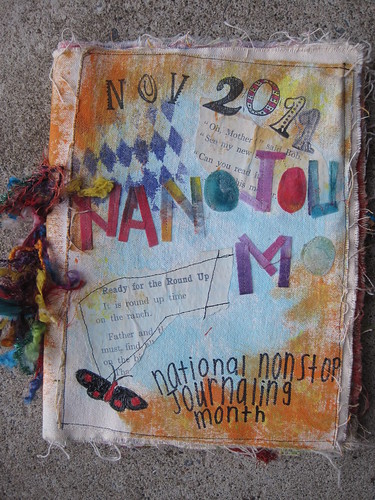
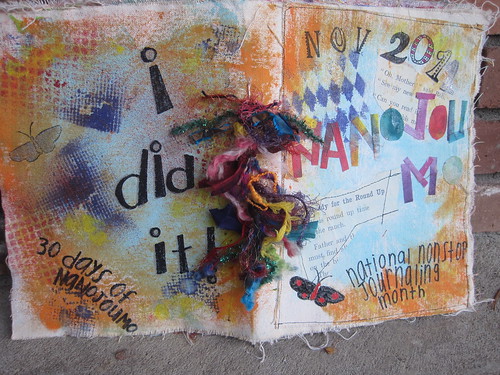
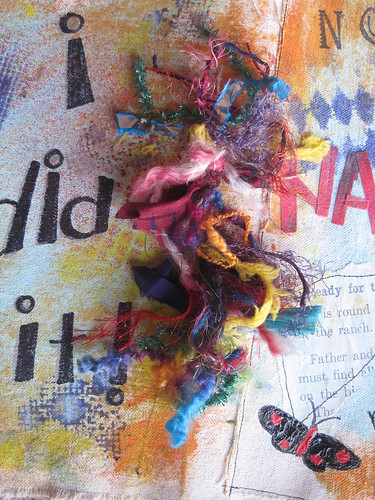
This is the cover of my journal...
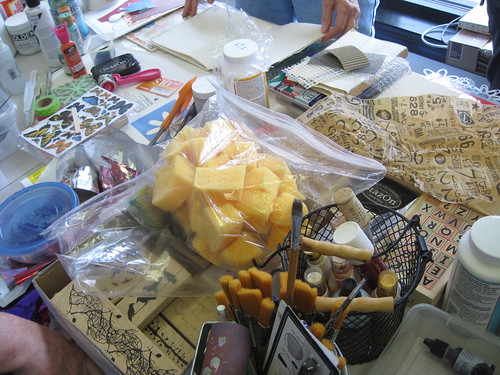
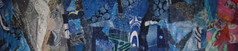
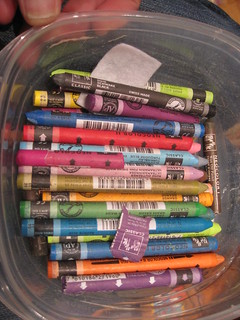
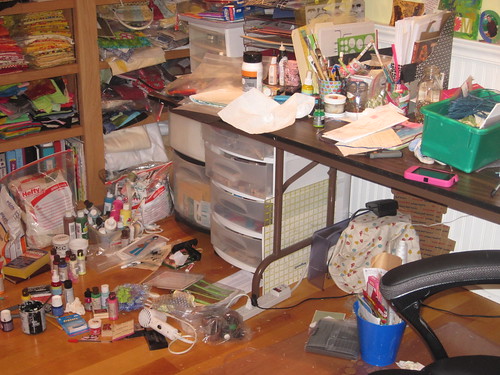
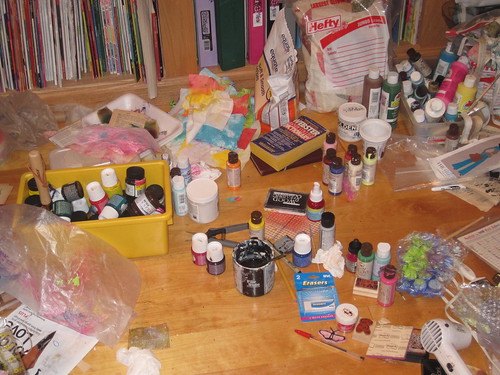

Inside the cover, 
I taped down two photos...
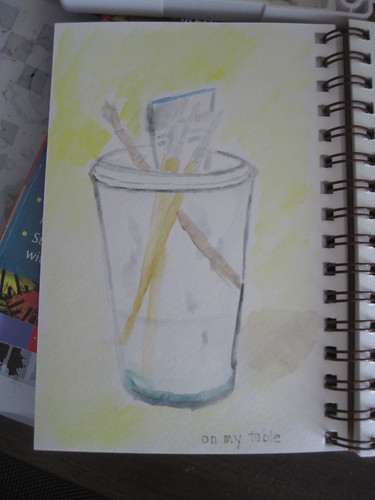
one of the display of pastels at an art store
and
one of my studio...


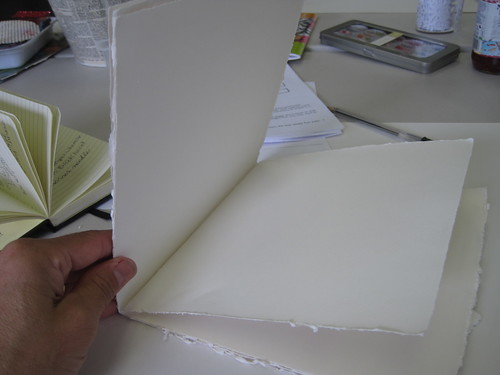
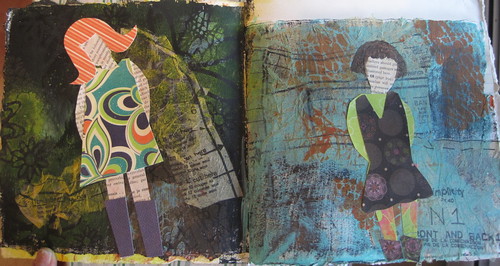
Our first challenge was to use book paper 
and our journal prompt was to be our own goal keeper...

  
I listed my goals under the tags.
My 2015 word is Breathe (that should help to sustain my life, right?)
 essentially.... to let go.

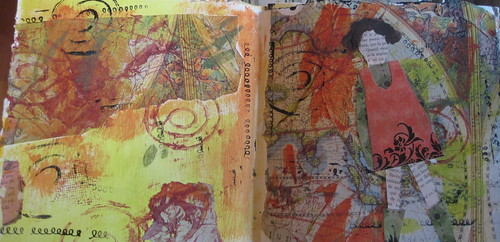
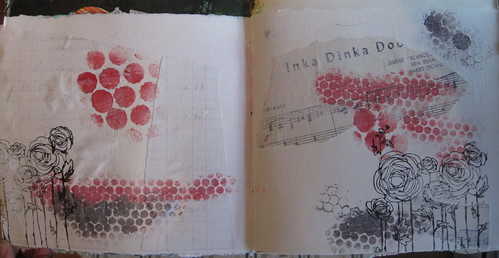
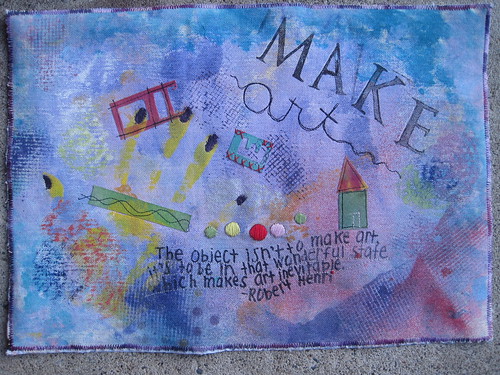
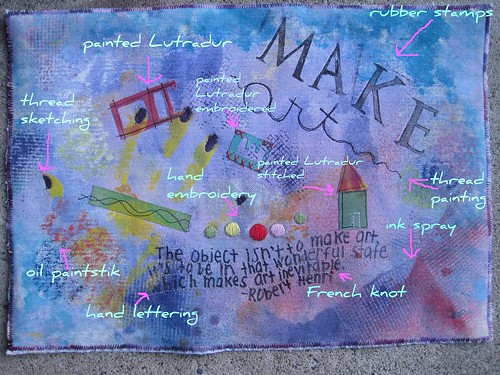
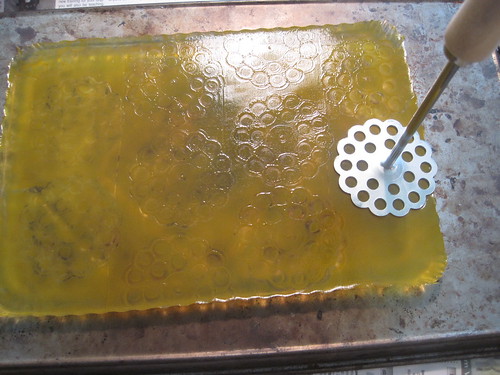
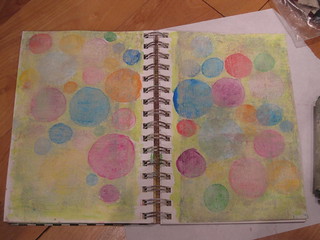
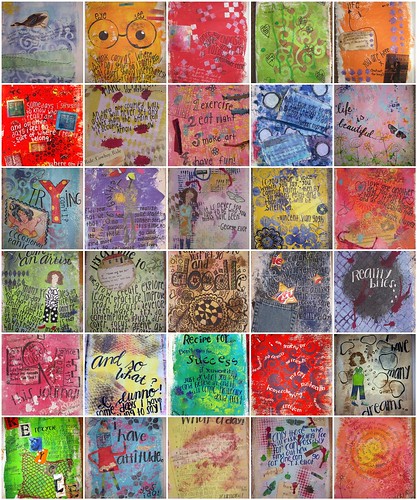
Our second challenge was gesso 
Who can live without it?!.... not I!
(Though not really essential to life!)
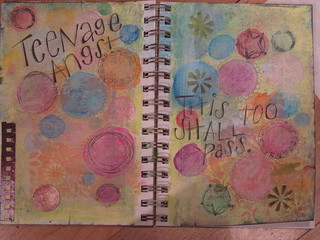
and our journal prompt was the quote below...


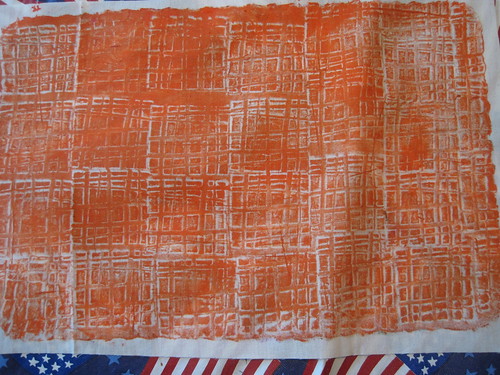
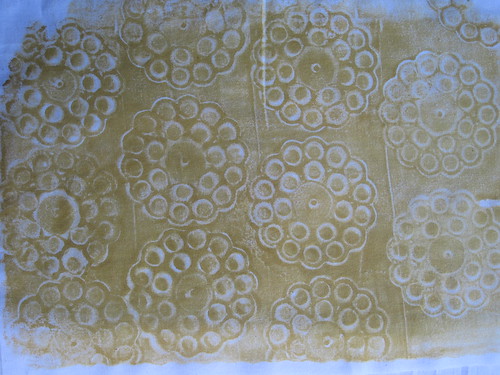
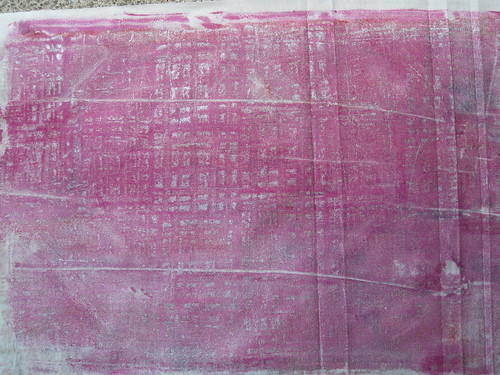
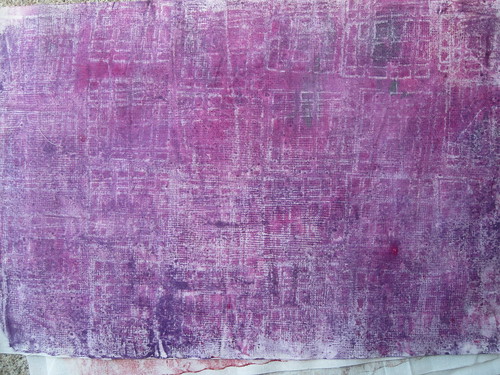
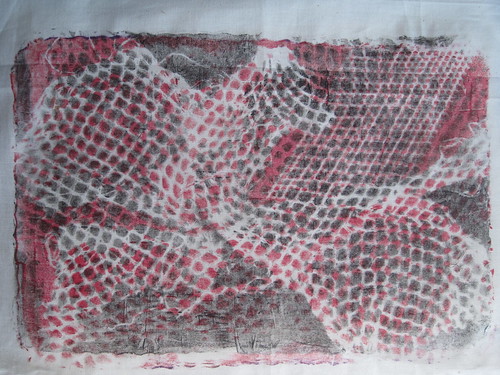
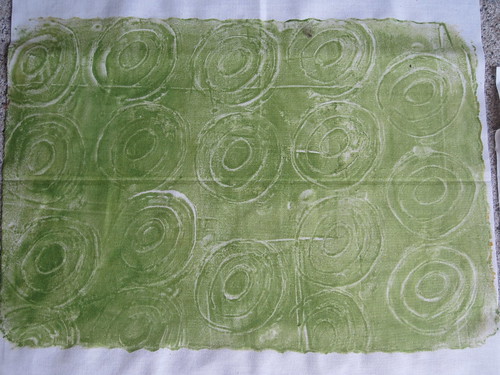
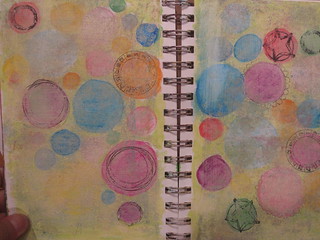
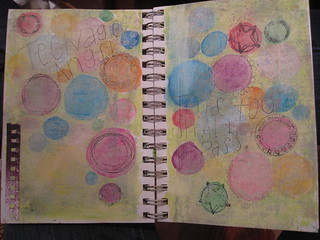
These pages used a variety of mixed media supplies 
including (but not limited to)
gesso, book pages, tissue paper, stencils, spray ink, markers galore, rubber stamps, stamp pad, watercolors, acrylic paints, pencils and washi tape.

The essentials of mixed media that seem to sustain my artful life these days!

Have a great weekend!

Monday, February 25, 2013

a quick how-to


I started off my journal spread by applying gesso to both pages with a paintbrush.
In order to avoid getting the gesso all over, 
I typically place waxed paper under both pages that I am applying the gesso (or paint for that matter) to
so I don't get too much on the other pages 
(life is messy!)

For this spread,
I used my Caran D'Ache Neocolor II Watersoluble crayons

Caran D'Ache Neocolor II watercolor crayons

I colored the circles of varying size
and then added water with a water brush (you can find a brush at Joann etc) 

circles made from watercolor crayons and water

The background is also crayon with water.

I felt that the spread was a little too bright for my liking,
so I splatted on some paint (Golden Titan Buff) and 
rubbed it around with a brayer

adding some Golden Titan Buff to tone down the colors

I had the perfect collection of stamps ...

Add some stamping to the circles?


so I stamped a variety of circles and stars

stamping on the circles

but found some of the stamps didn't turn out too well 
(maybe my paint wasn't dry enough)


I added just a wee bit of texture on the side
(actually I also added a sticker but it wouldn't stay on 
so maybe the painted surface was not ink/sticker friendly?)

lightly sketched out words

and of course,
I added my favorite.... text!

Ahhh......
Yes....
when living with three kids (ages 19, 16, and 13)..

there is bound to be drama!

adding some spray  and ink through stencil

I like to make my text bold and highlighted.

I also added some spray ink with a stencil


and a few shapes by dabbing ink over a stencil.


There you have a simple art journal spread.


Wednesday, November 30, 2011

veni vidi vici

That is...
I came,
I saw,
I conquered!!!
 
Yes, I did!!!
It's true!!!!

NaNoJouMo cover (back)

I have finished one month (30 days!!!)
and I never missed a day!

NaNoJouMo cover (front)

Today, after completing the last page,
I bound my canvas pages with string...

NaNoJouMo cover (back and front)

and tied the string with a variety of fibers...

close up of binding fibers

What fun!
What a challenge!
I tried to vary the kinds of techniques I used
as well as the materials...

30 Days of NaNoJouMo! And I didn't miss one day!!!

And now....
it's time...

the remants of the NaNoJouMo storm

to pick up the pieces...

the remants of the NaNoJouMo storm

and move on...
Goblin Gallop, 10/29/11
Gotta run!

Sunday, September 11, 2011

Redefining...

nour·ish  (nûrsh, nr-)
tr.v. nour·ished, nour·ish·ing, nour·ish·es
1. To provide with food or other substances necessary for life and growth; feed.
2. To foster the development of; promote: "Athens was an imperial city, nourished by the tribute of subjects" (V. Gordon Childe).
3. To keep alive; maintain: nourish a hope.
4. To indulge in a full day of mixed media with new friends

Through the wonderful world of blogging, 
I met Marilyn online
and discovered that she lived nearby
(okay, about an hour from here but that is nearby around here!).

I then discovered that she holds workshops at a scrapbooking store
and you will never guess where I was today?!!!!


Yes!!!!
Marilyn and friend, Kerri, held a workshop,
"Altered Egos"
and 
so I spent today nourishing my soul
with 
handmade journals...

Altered Egos Workshop!
(oh so much fun to make!)

stamps, paper, gesso...

Altered Egos Workshop!
(messy!)


paint, rub-ons, and so much more!

Altered Egos Workshop!

What could be better????!!!!


my first journal spread

How about homework?!!!


my second journal spread

and another play date next Sunday!!!!


a black, white and red spread


Life is Good!!!

Me on the floor

P.S. Did you see my sun prints? Well, I am giving away one of my prints to one lucky reader,
so leave a comment here!

Saturday, August 20, 2011

YIKES! I seem to be going every which way!!!!


This week,
I tried a whole bunch of different ways to.....


Make Art


Monday, I stamped and painted...

painting stamped houses with watercolor

Tuesday, I got downright messy with gelatin printing ....

et voila!


Wednesday, I tried sketching and painting...

sketch and watercolor

Thursday, I revealed this...

challenge #2, celebrate

read more here and see the rest of the group reveals are here

and Friday, I tried a hodge podge of techniques...

Make Art, explained


Now...
Me on the floor
where do I go from here?!

Tuesday, August 16, 2011

For recreation purposes only...

hob·by

1 [hob-ee]
noun, plural -bies.

an activity or interest pursued for pleasure or relaxation and not as a main occupation: Her hobbies include stamp-collecting and woodcarving.


As if I didn't have enough hobbies...

I have been following Rayna's blog for a couple of years
and have taken her book out of the library a number of times

but this time when I brought it home...

I got the goods 
(that is...the tin pans, fabric paint, unflavored gelatin, and time)
and I decided to try out gelatin printing..

and I am hooked!!!

I started with a 12x8 inch (approximately) tin pan
and dumped in 6 packs of unflavored gelatin,
stirred in 1 1/2 cups of cold water to dissolve,
added 1 1/2 cups of hot water
and left it in the fridge overnight...

the gelatin plate sitting on the bottom of a nasty looking cookie sheet
This is what the gelatin plate looks like when you pop it out
and put it on the bottom of a well used (nasty looking) cookie sheet!

I used my Pebeo Setacolor transparent fabric paints
and later, I tried my Jacquard Lumiere fabric paints
(oh... I know! I sound so official, like I know what I'm doing!)...

painted gelatin
plopped a  blob on the gelatin,
and rolled it around with a brayer 
(sorry I forgot to take a photo of that part of the process... I just got so excited!)

I used a variety of objects to texturize the painted gelatin
such as this stamp...
stamping the painted gelatin

and I stamped the entire gelatin plate...

the painted gelatin is then stamped

placed a piece of muslin over top 
and pressed it into the paint..

press the fabric onto the painted/stamped gelatin

et voila!!!

et voila!

painted fabric love!!!!

Here, I used a newfangled potato masher that I bought at Walmart...

stamping the painted gelatin plate

and got this....

printing with a masher

I even tried layering...
first just plain pink,
and then some silver with a stamp...

two layers


purple on a small mesh,
then pink stamped...

two layers


red on a mesh onion bag,
then black on the mesh onion bag...

two layers using mesh from an onion bag

(love this one!)

and this is just one layer of green

printing with a handmade stamp

stamped with one of my homemade stamps.

Yes, I am
feeling pretty pleased and relaxed now...
Me on the floor
so....it must be a hobby!!!


P.S. In two days, we will be revealing our second challenge on Tangled Textiles...
another sneak peek... (one last sneak peek) ....stay tuned!!!