Showing posts with label tutorial. Show all posts

Friday, February 13, 2015

Shave like a......

Man Artisan....


Are you an original artist????
Or the sensitive type???


I knew that my can of "original" shaving cream at the studio was almost empty
so when I was at the store recently, 
I grabbed another can
not knowing that I had selected the "sensitive" type.

Well okay, I am kinda sensitive!

But why would I even have shaving cream at my studio????

to shave with, of course! 

As in ... "to cut or scrape away the surface of with a sharp-edged tool"

This kind of 'shaving' requires a flat surface on which to work
so
I used a lid from a large plastic tote...

(on the floor, of course!)


I squeezed out a large amount of shaving cream 

(Barbasol works well...
you can decide if you want to be 'original' or 'sensitive'
but not sure 'soothing aloe' will fit the bill though)

onto the lid....


(probably more than I needed to)

and shmushed it around with my hand. 

Later on, I got smart and squeezed out a smaller amount of shaving cream
and shaaaaaaved it out with a rubber scraper. 

I started with my All-purpose inks...


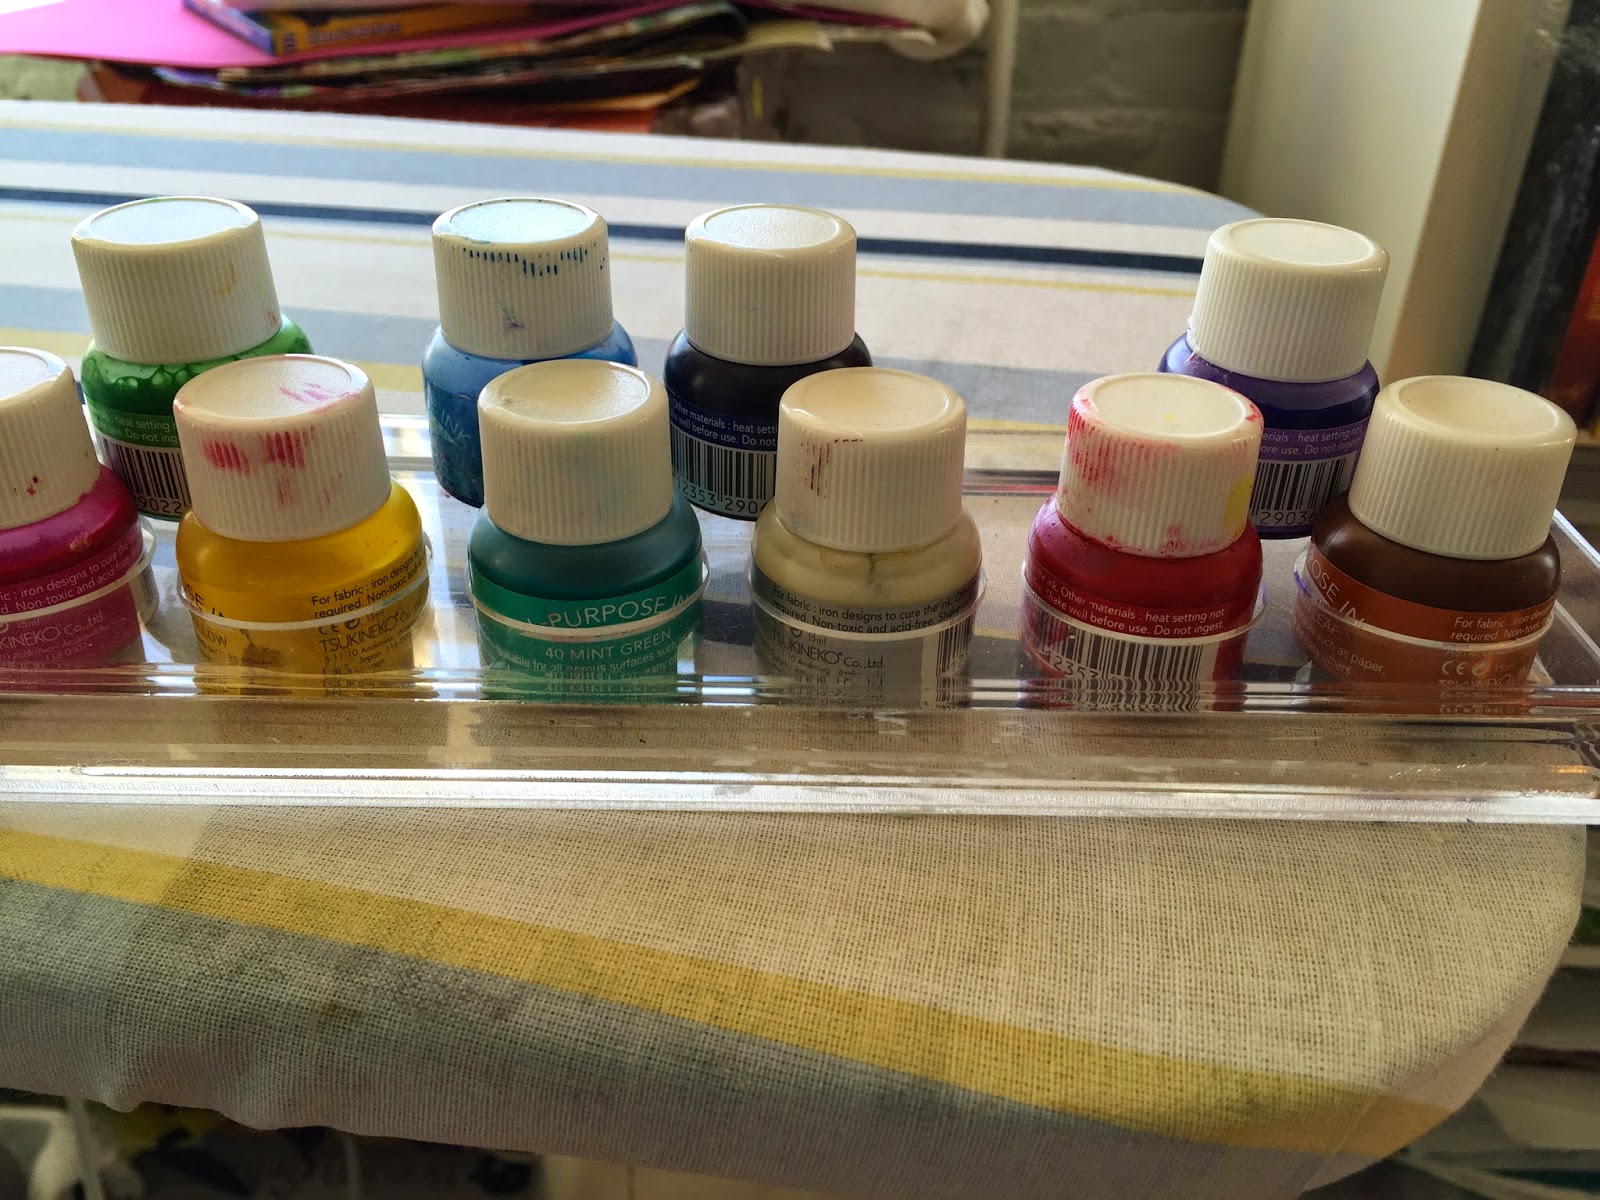
dripping a variety of colors onto the shaving cream...


and moved it up and down, and side to side with a marbling comb
in an original way..


 I placed the fabric (here I used canvas) 
down on the inky mess
and patted it down gently...


and carefully pulled it off...

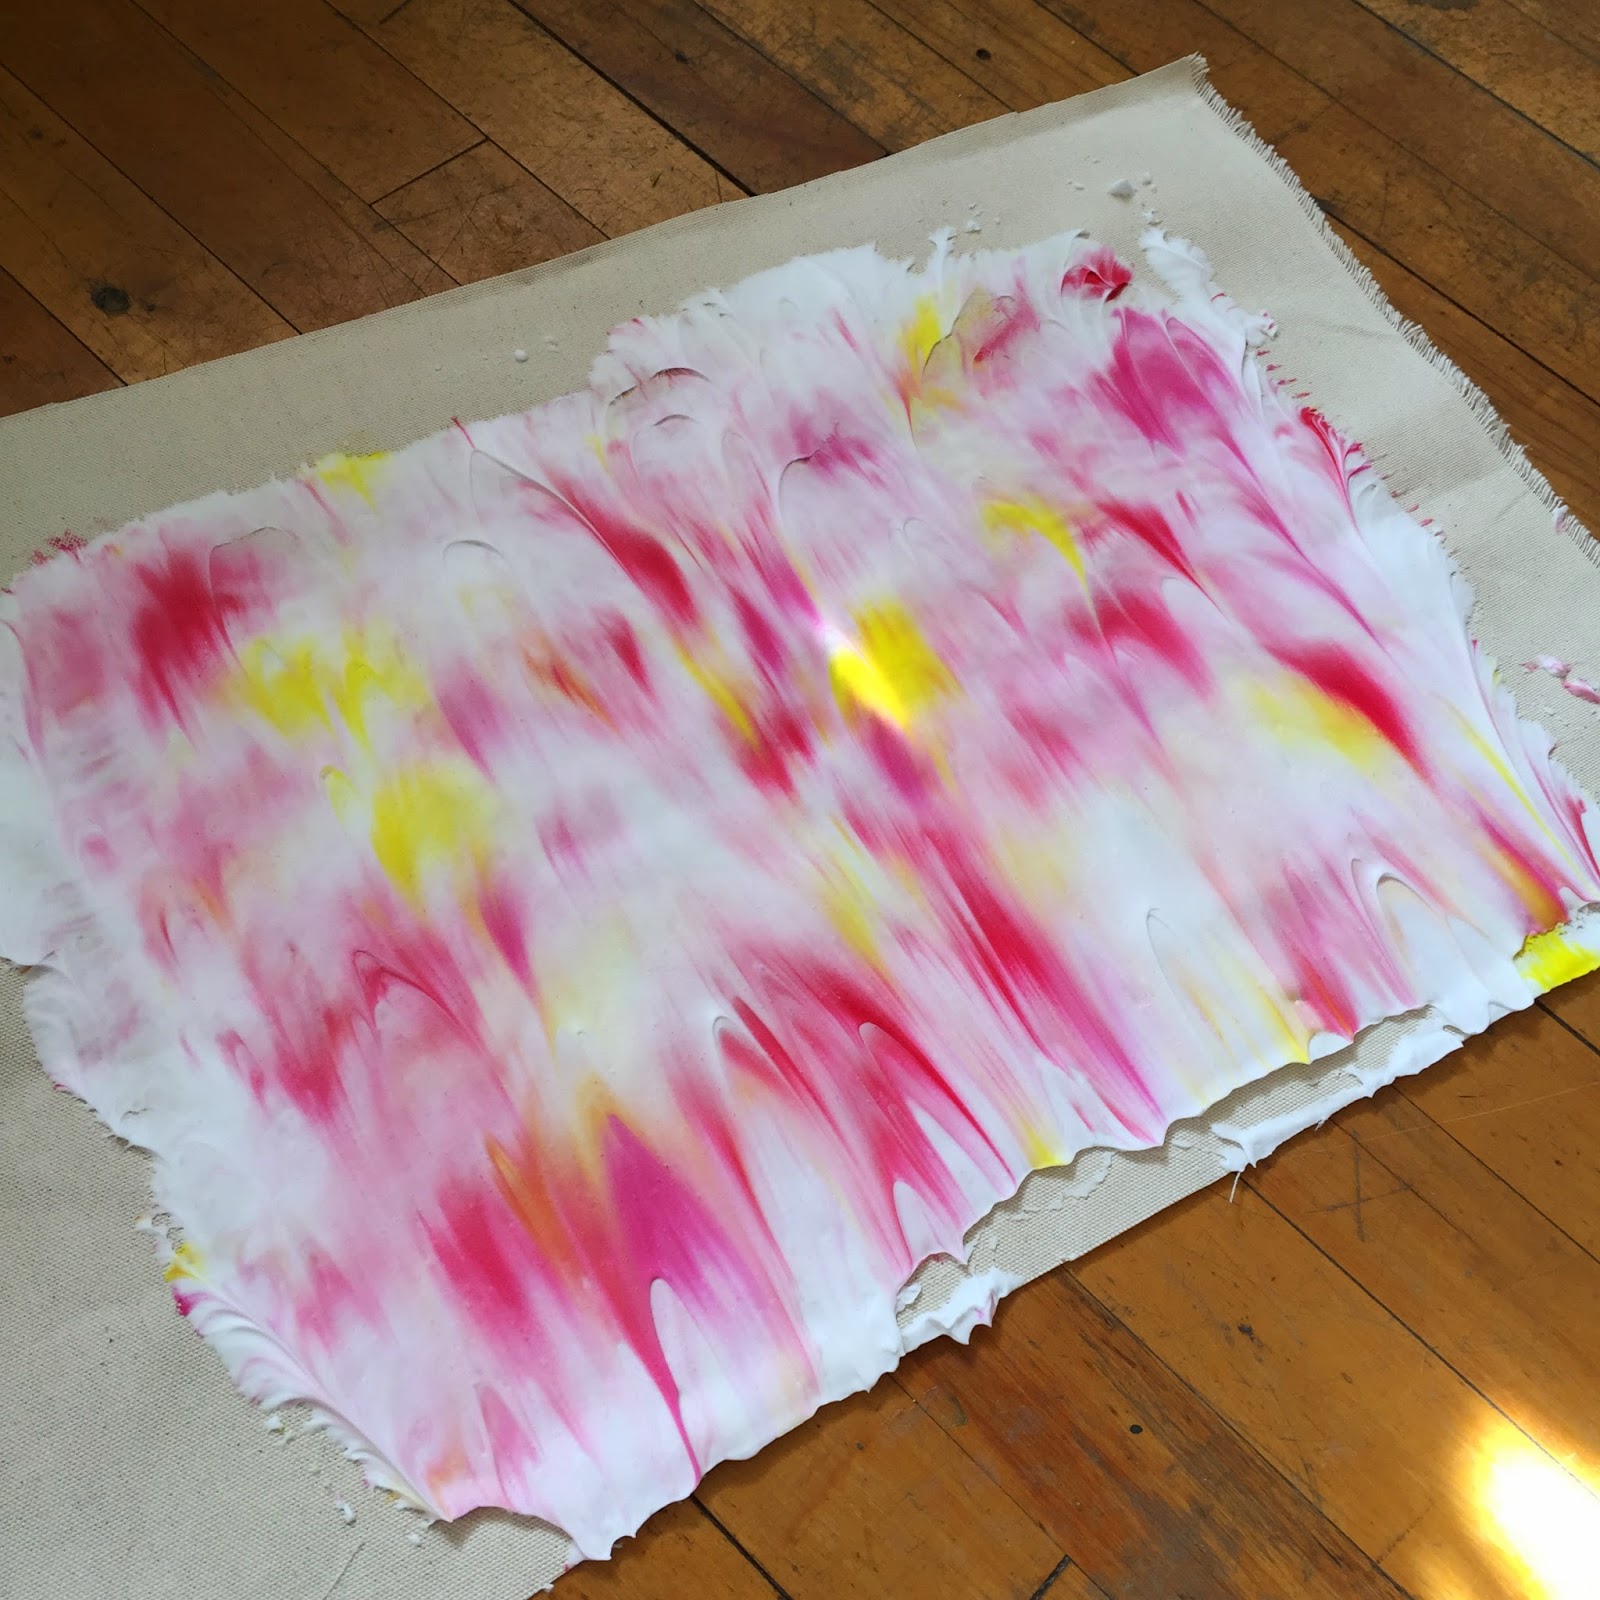
 (only so I didn't get ink all over the place). 

I used some watercolor paper and 
pulled off the rest of the ink too.


I used a rubber blade tool,
like a small squeegee 


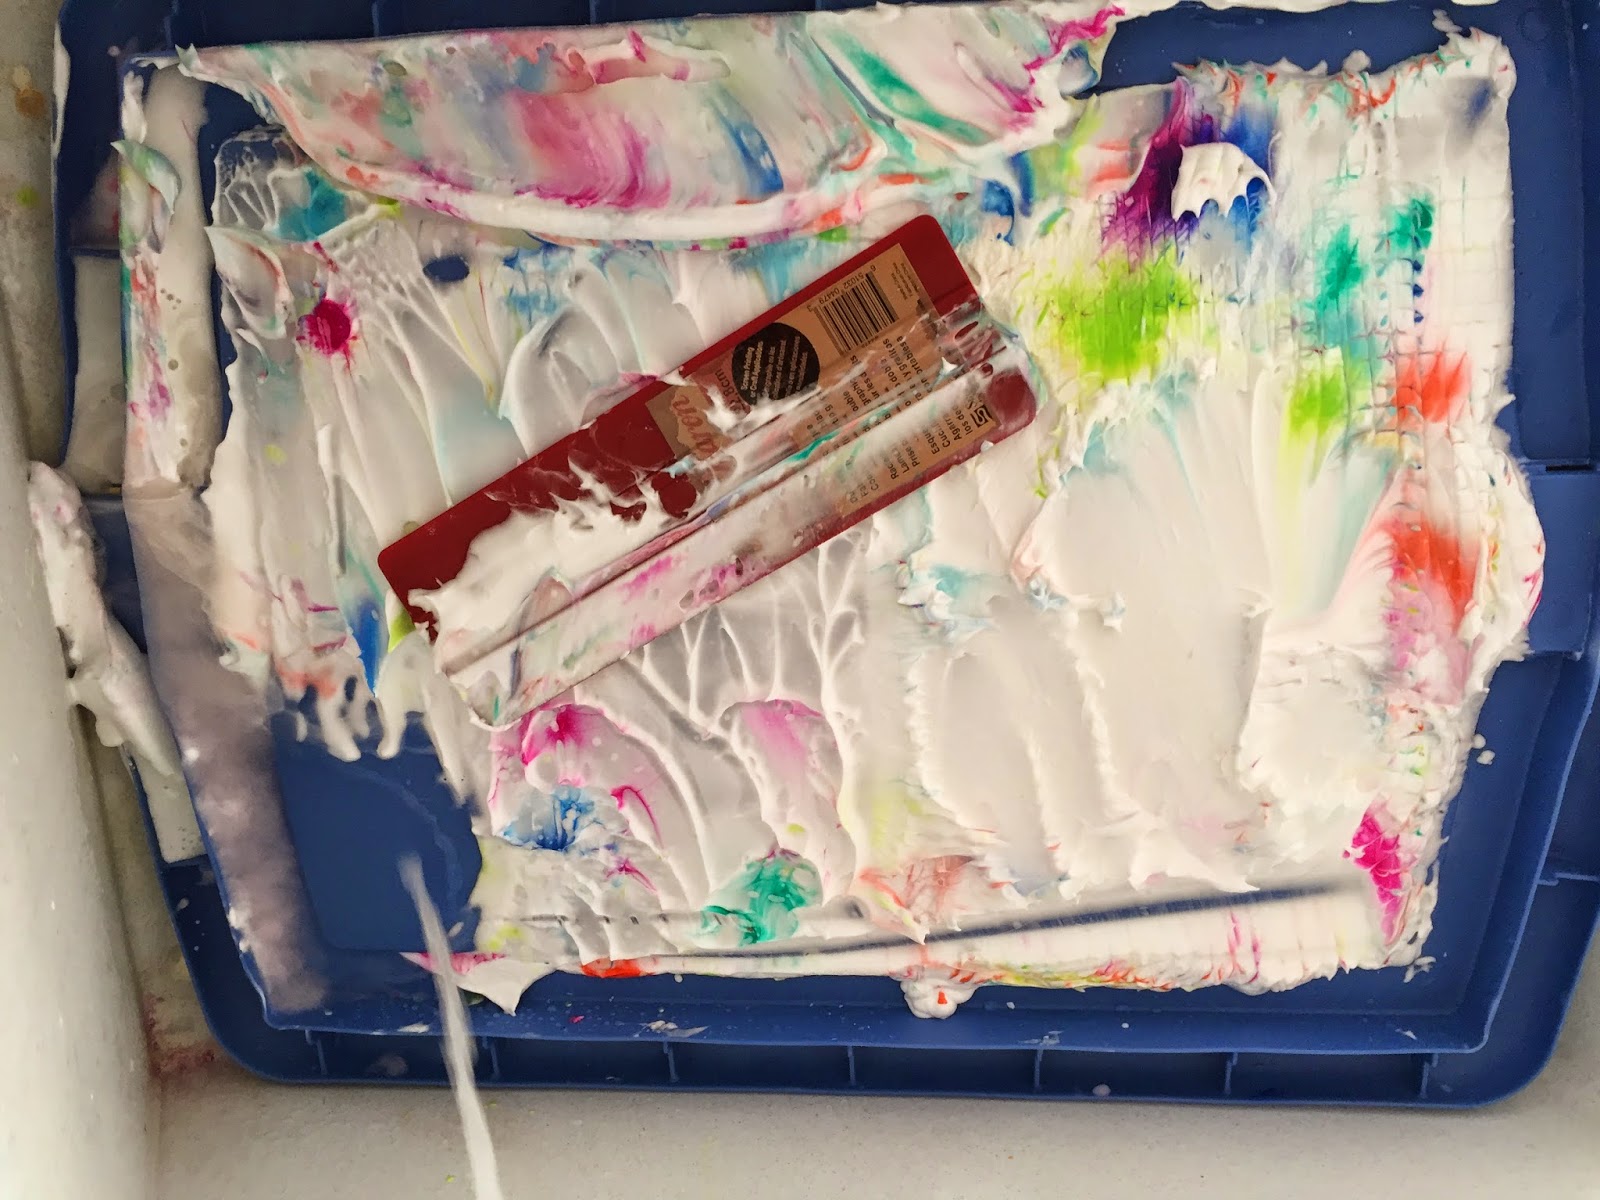
and shaaaaaaved off all the shaving cream
and voila!!!


On the second go-around,
I used the same type of inks
but a different color palette on cotton fabric...


did some fancier swirls...


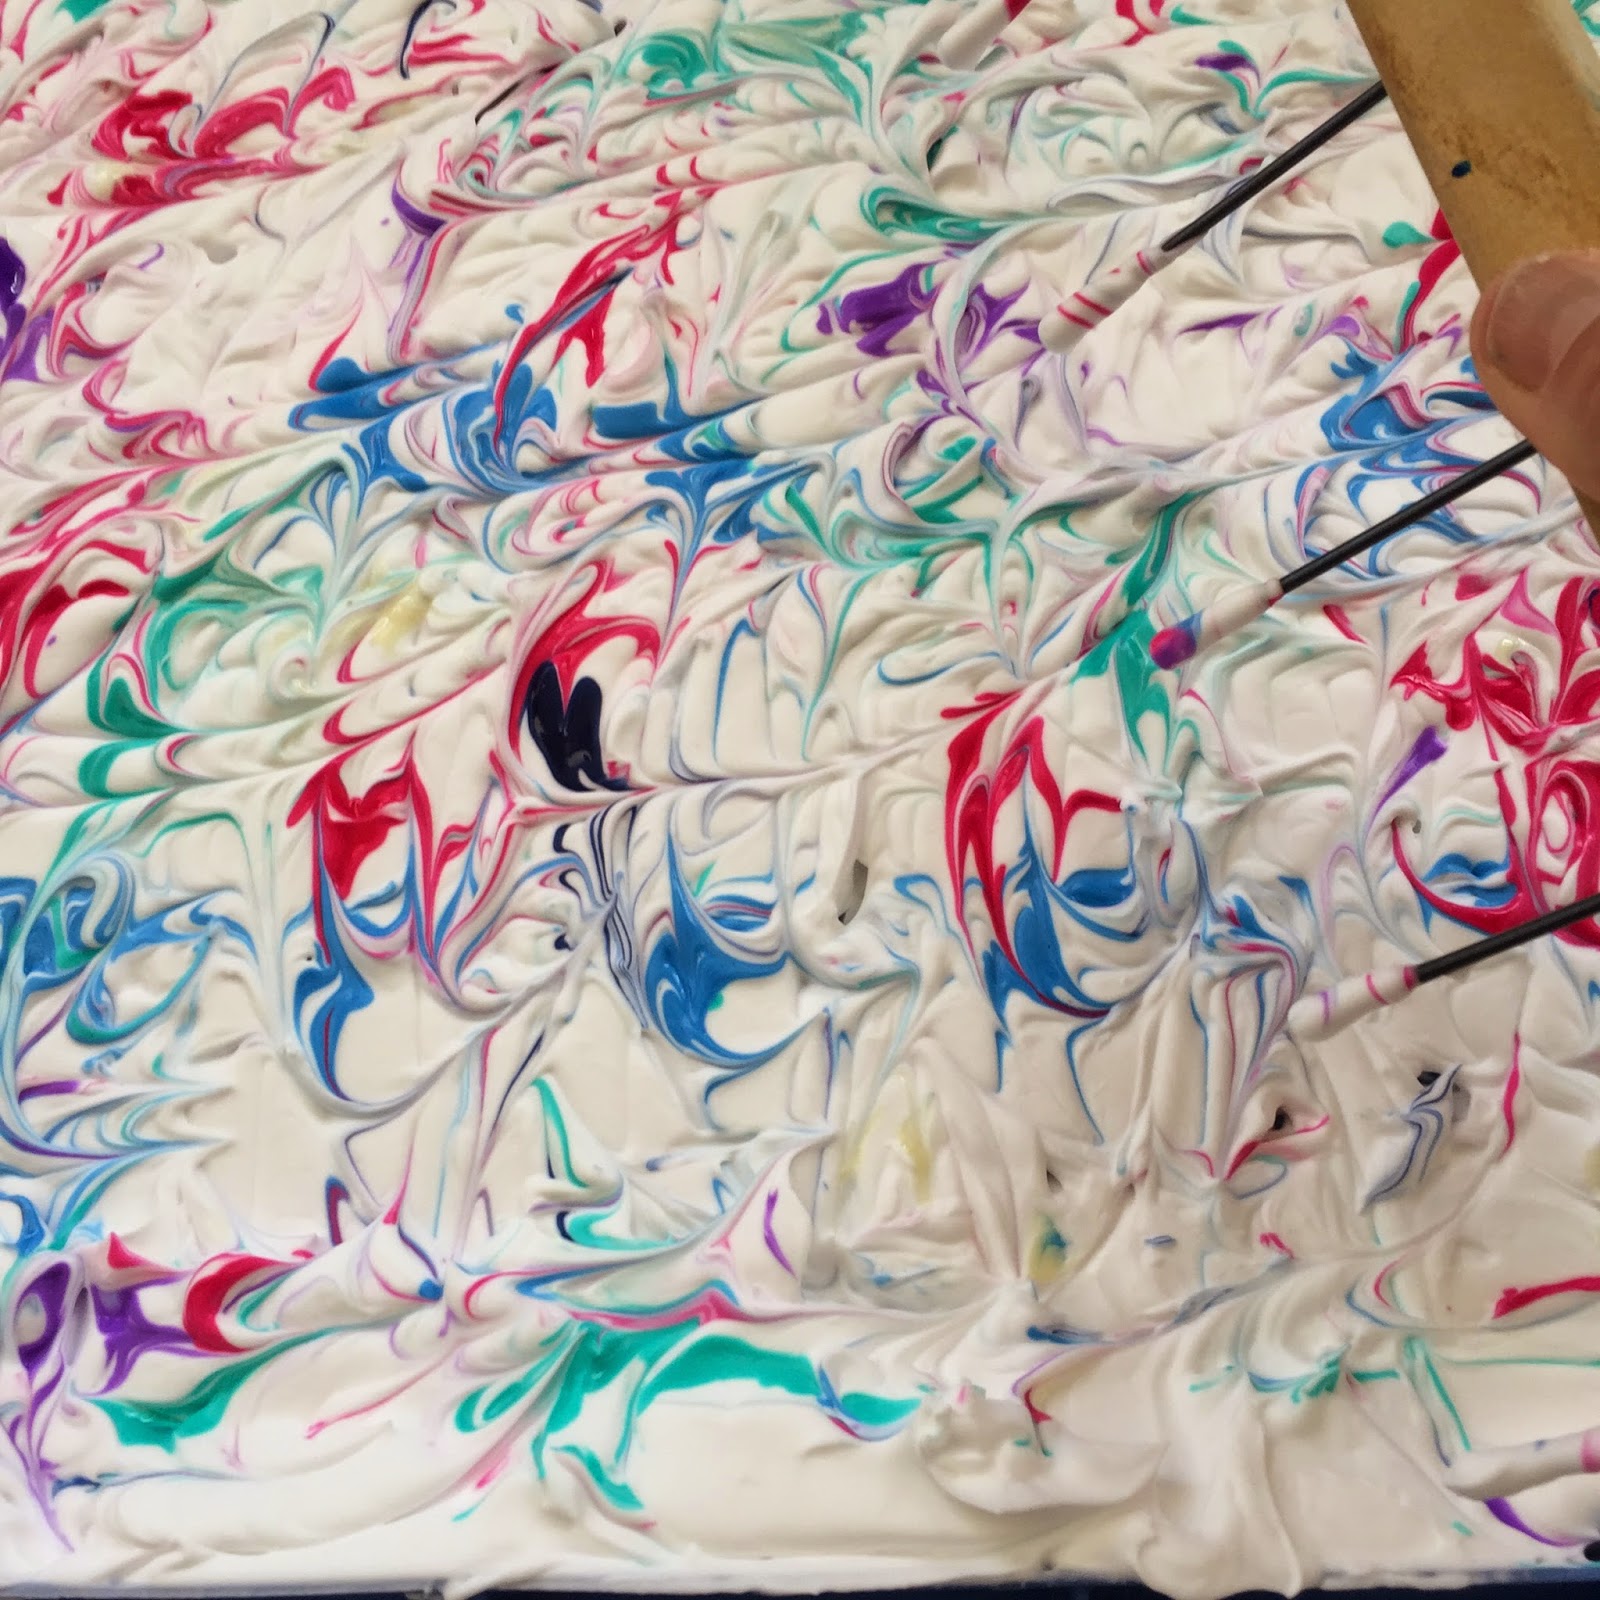
with a most sensitive flourish!


you can see the marbling comb I used 
in the bottom right of this photo...

(warning: the marbling comb can make you extremely sensitive
if you poke yourself!)


Finally, 
I used my acrylic inks..


and more drips...


and loads of swirls, slashes, and doodles...


with cotton ...


and paper...


and hands....

and sensitivity (just saying)

and ended with this...


Once the fabric seemed reasonably dry,
I heat set it...


with parchment paper on top
in case some of the color came off.

Now I am not sure what I am going to do with all my
clean shaven fabrics and paper


but I did run some textile paint over a thermofax screen
on a corner of the fabric....

stay tuned to see what happens next!

By the way,
while both types of shaving cream work well,
the 'sensitive' type has a most pleasant smell
when cleaning up!


And for goodness sake,
 if you can't shave like an artisan,
 shave like a man!


Thursday, April 28, 2011

From my vantage point....

I am still working on this quilt for our guild challenge....

X marks the spot

and if you look really closely at the 'X's in the right hand corner...

there we are on the bridge!

you might see Mr. U and I standing on that bridge last night....

the Might Hudson rages from melting and raining
bet you can't see us...
(of course not!
  I'm the one taking the photo and Mr. U is probably nearby!)

Anyway,
with the spring melts from the Adirondack Mountains and the plentiful recent rains,
the area is experiencing high waters,
and raging falls...

the Might Hudson rages from melting and raining

The center of our community is the falls
which has historical significance,
literary reference,
and industrial importance....

the Might Hudson rages from melting and raining
(lots of paper and paper products are produced in this area)

but as the sign says...

the Might Hudson rages from melting and raining at Glens Falls
you can only see the falls in the spring...

the Might Hudson rages from melting and raining

and from our vantage point
on the bridge
we saw...

the Might Hudson rages from melting and raining

I've been asked about my "technique" (is that we call it?)
for creating my quilt, "Along The River"
and so...
from my vantage point
(on the floor now)...

here is my attempt at a re-cap/tutorial....

I blew up a map of the area I wanted to include...

enlarged map sitting on a slab of wood

I laid some lightweight fusible interfacing on top of the map
with the fusible side up

starting to create the background

and began cutting up pieces of fabric (previously backed with Wonder Under)

starting to create the background

on top of the interfacing...

adding background browns, greens

Occasionally, I laid a piece of the release paper
(that I had peeled off of the Wonder Under )
over the fabric and pressed the pieces in place on the interfacing...

adding background browns, greens

I created the river in the same way
and cut the interfacing along the edges of the blue fabric...

the river is waiting to be added to the background

laid it on top of the background
and pressed it in place...

fusing the pieces back with Wonder Under onto the base of interfacing

I added the interstate down the middle
in the same way
et voila!

with the Interstate


To anchor all the pieces in place,
I sprayed the top of the quilt with a temporary adhesive
(because that is what I had at home but I think I would prefer something permanent)
and laid a piece of black tulle (which I purchased at Joann's) on top of the quilt..

black tulle and temporary spray adhesive

Then I started some free motion quilting....

quilting of the river and the interstate
some lines down the interstate with gray rayon thread
and some zigzags with a silver metallic thread on the river.


I traced the streets off the enlarged map
onto sheets of tracing paper
and pinned them onto my quilt...

I traced the streets onto tracing paper

and quilted the roads, using a free motion foot,
through the paper

quilted roadmap
which I, then, peeled off around the stitching...


I have been using the latest tools that technology can bring....

high tech tools

an old toothbrush and a pair of tweezers to pick off 
any leftover bits of tracing paper and thread...

(I'm picky about those things!)

Of course,
my project is by no means complete
but this gives you an idea of the process that I used.

I will post photos of the complete project
as soon as I dig myself out....


or peel myself off the floor!


Me on the floor